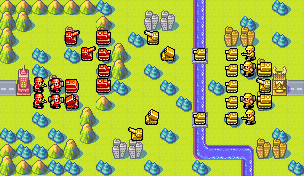
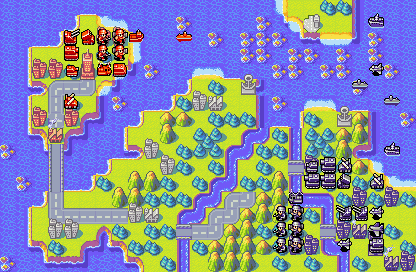
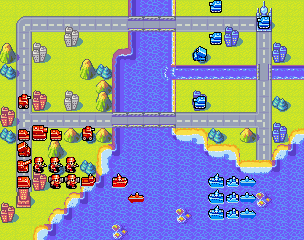
Mission 4 – Max Strikes!
CO Choice: Max
 | This route looks tough! |
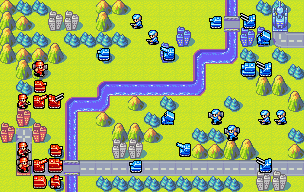
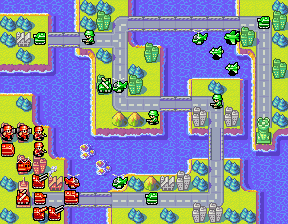
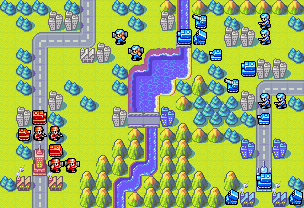
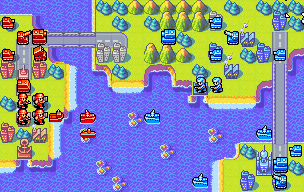
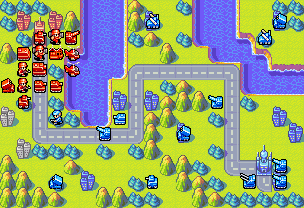
Mission 5 – Sniper!
CO Choice:
 | I can handle this! |
| This’ll be as easy as falling out of bed! |
.png) |
 |
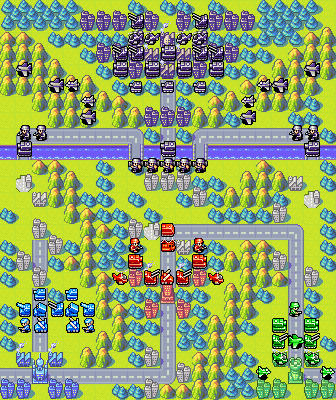
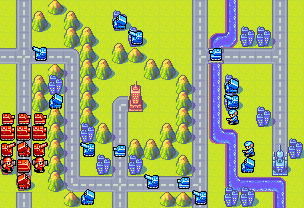
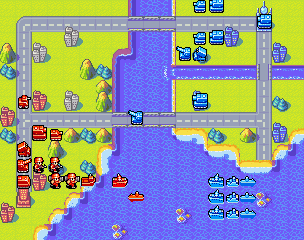
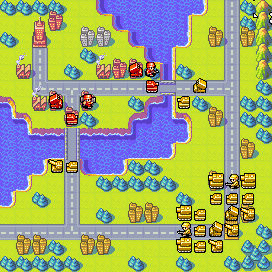
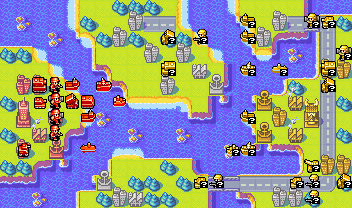
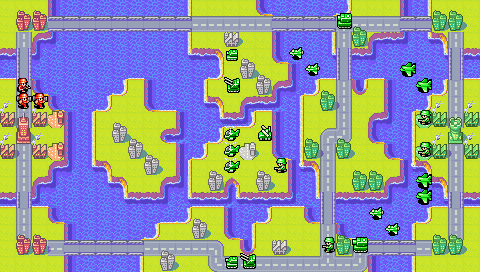
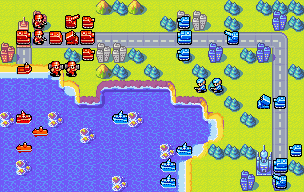
Mission 6 – Olaf’s Navy
CO Choice:
| I’ll go! |
| I’ll take care of this! |
.png) |
 |
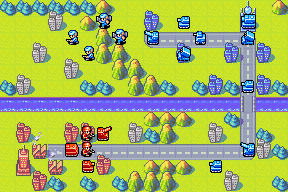
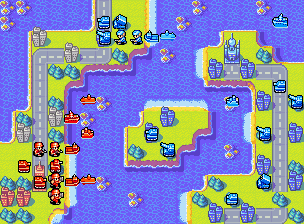
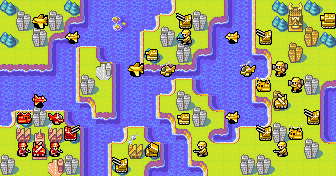
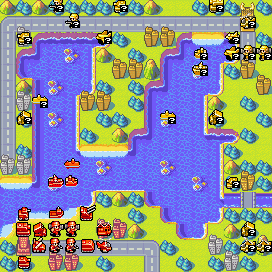
Mission 6 – Blizzard Battle!
CO Choice:
| Doesn’t Olaf get cold when he makes it snow? |
| Let’s take it to ’em! |
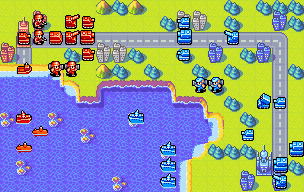
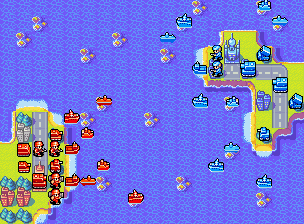
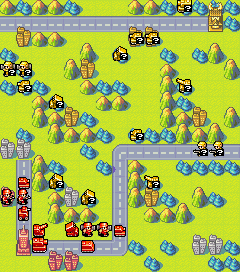
Mission 7 – Olaf’s Sea Strike!
CO Choice:
| Is it my turn? |
| Olaf’s got another think coming if he thinks he can beat me! |
.png) |
 |
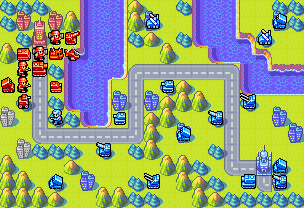
Mission 7 – History Lesson
CO Choice: Max
| Let me take care of Grit! |
.png) |
 |
Mission 8 – Sami’s Debut!
CO Choice:
| Those troops… could it be? |
| It’s that guy again! |
 | This terrain is made for me! |
.png) |
 |
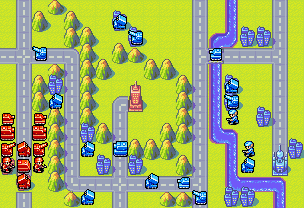
Mission 9 – Kanbei Arrives!
CO Choice:
| I don’t know what’s going on, but I’ll do my best. |
| Darn! I hadn’t planned on crossing into Yellow Comet… Well, here goes |
| If we could just negotiate… I think it’s too late for that, though. |
Mission 10 – Mighty Kanbei!
CO Choice:
| Kanbei’s army is so cool! |
| That Kanbei is one tough cookie! |
| We can’t get careless |
Mission 11 – Kanbei’s Error?
CO Choice:
| My units haven’t lost yet! |
| The front line is where I’ll win this battle! |
| This map call for some strategic maneuvering. |
.png) |
 |
Mission 12 – Divide & Conquer!
CO Choice: Max
| Hey! Where is everybody? |
.png) |
 |
Mission 13 – Sami Marches On!
CO Choice: Sami
| Sonja! |
.png) |
 |
Mission 14 – Sonja’s Goal!
CO Choice: Andy
| Boy… Sami’s scary when she’s mad. |
.png) |
 |
Mission 15 – Captain Drake!
CO Choice: Max
| This is right up my alley! |
.png) |
 |
Mission 15 – Captain Drake!
CO Choice: Sami
| Hmm… this could be a tough nut to crack. |
.png) |
 |
Mission 16 – Naval Clash!
CO Choice: Andy
| I’ll take this route. |
.png) |
 |
Mission 16 – Naval Clash!
CO Choice: Max
| Send me this way. |
.png) |
 |
Mission 16 – Naval Clash!
CO Choice: Sami
| If it’s up to me, I’ll go here. |
.png) |
 |
Mission 17 – Wings of Victory!
CO Choice: Max
| I’m always ready to go! |
.png) |
 |
Mission 17 – Wings of Victory!
CO Choice: Sami
| I’ve got to get the job done this time! |
.png) |
 |
Mission 18 – Battle Mystery!
CO Choice: Andy
| I really like battling Drake! |
.png) |
 |
Mission 18 – Battle Mystery!
CO Choice: Max
| Yeah, I’ll take care of this! |
.png) |
 |
Mission 18 – Battle Mystery!
CO Choice: Sami
| That Tsunami’s so annoying! |
.png) |
 |
Mission 19 – Andy Times Two!
CO Choice:
| Someone’s already fighting! I’ve got to help! |
| The enemy has been sighted! |
| I wonder if Eagle’s okay. |
Mission 20 – Enigma
CO Choice:
| There’s no time! Let’s go! |
| Time to bring it! |
| Eagle… Be careful. |
.png) |
 |
Mission 22 – Rivals!
CO Choice: Andy
| I’m ready! |
.png) |
 |
Same as in the regular Campaign, there are different paths you can take. For specifics, check the “Branching Paths, Extra Missions, and Unlocking COs” section on the overview page.
| Army: |  |
| A mechanical boy wonder with good all-around skills. Impulsive to a fault, he’s fiercely protective of those he calls friends. | |
| “Time for a tune up!” |
| Cost – 8000 | |||||||
 |
 |
 |
 |
||||
 |
 |
 |
 |
||||
| A-air units work well against foot soldiers and air units. They’re weak against tanks. Continue reading | |||||||
| Cost – 5000 | |||||||
 |
 |
 |
 |
||||
 |
 |
 |
 |
||||
| APC units transport foot soldiers, ammo, gas, and rations. Continue reading | |||||||
| Cost – 6000 | |||||||
 |
 |
 |
 |
||||
 |
 |
 |
 |
||||
| Artillery units are an inexpensive way to gain indirect offensive attack capabilities. Continue reading | |||||||
| Cost – 9000 | |||||||
 |
 |
 |
 |
||||
 |
 |
 |
 |
||||
| B (Battle) copter units can fire on many unit types, so they’re invaluable. Continue reading | |||||||
Release Dates:
Digital Re-release Dates:
Wii U: Virtual Console
Other Information:
| Cost – 28000 | |||||||
 |
 |
 |
 |
||||
 |
 |
 |
 |
||||
| B (Battle) ships have a larger attack range than even rocket units. Continue reading | |||||||
| Cost – 22000 | |||||||
 |
 |
 |
 |
||||
 |
 |
 |
 |
||||
| Bomber units can fire on ground and naval units. Their movement range is high. Continue reading | |||||||
Campaign is the main mode in the Nintendo Wars series from Advance Wars on. This is essentially the story mode, you go through the missions presented to you in order, and the COs available to you are determined by the plot.
Guide Goals
Our goals for this guide are to explain to you how to get a perfect score of 999 on all missions with any available CO. Because AW1’s AI is highly predictable and most Campaign missions require quick clears for full Speed points, these will be detailed day-to-day guides for most of the missions.
Continue reading
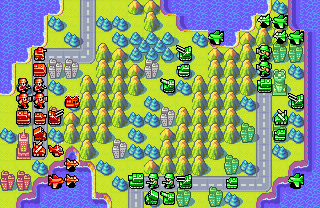
Mission 4 – Max Strikes!
CO Choice: Andy
| I want to check this place out! |
Note: This map is different if you choose Max as your CO.
Please refer to C04M – Max Strikes! guide instead.
|
This route looks tough! |
|
I can handle this! |
|
This’ll be as easy as falling out of bed! |
.png) |
 |
Mission 6 – Olaf’s Navy
CO Choice:
| I’ll go! |
| I’ll take care of this! |
.png) |
 |
.png)