| Army: |  |
| A peerless marksman with ranged attacks, he tends to dislike direct combat. His laid-back style masks his dependability. | |
| “Reckon it’s time to take you down!” |
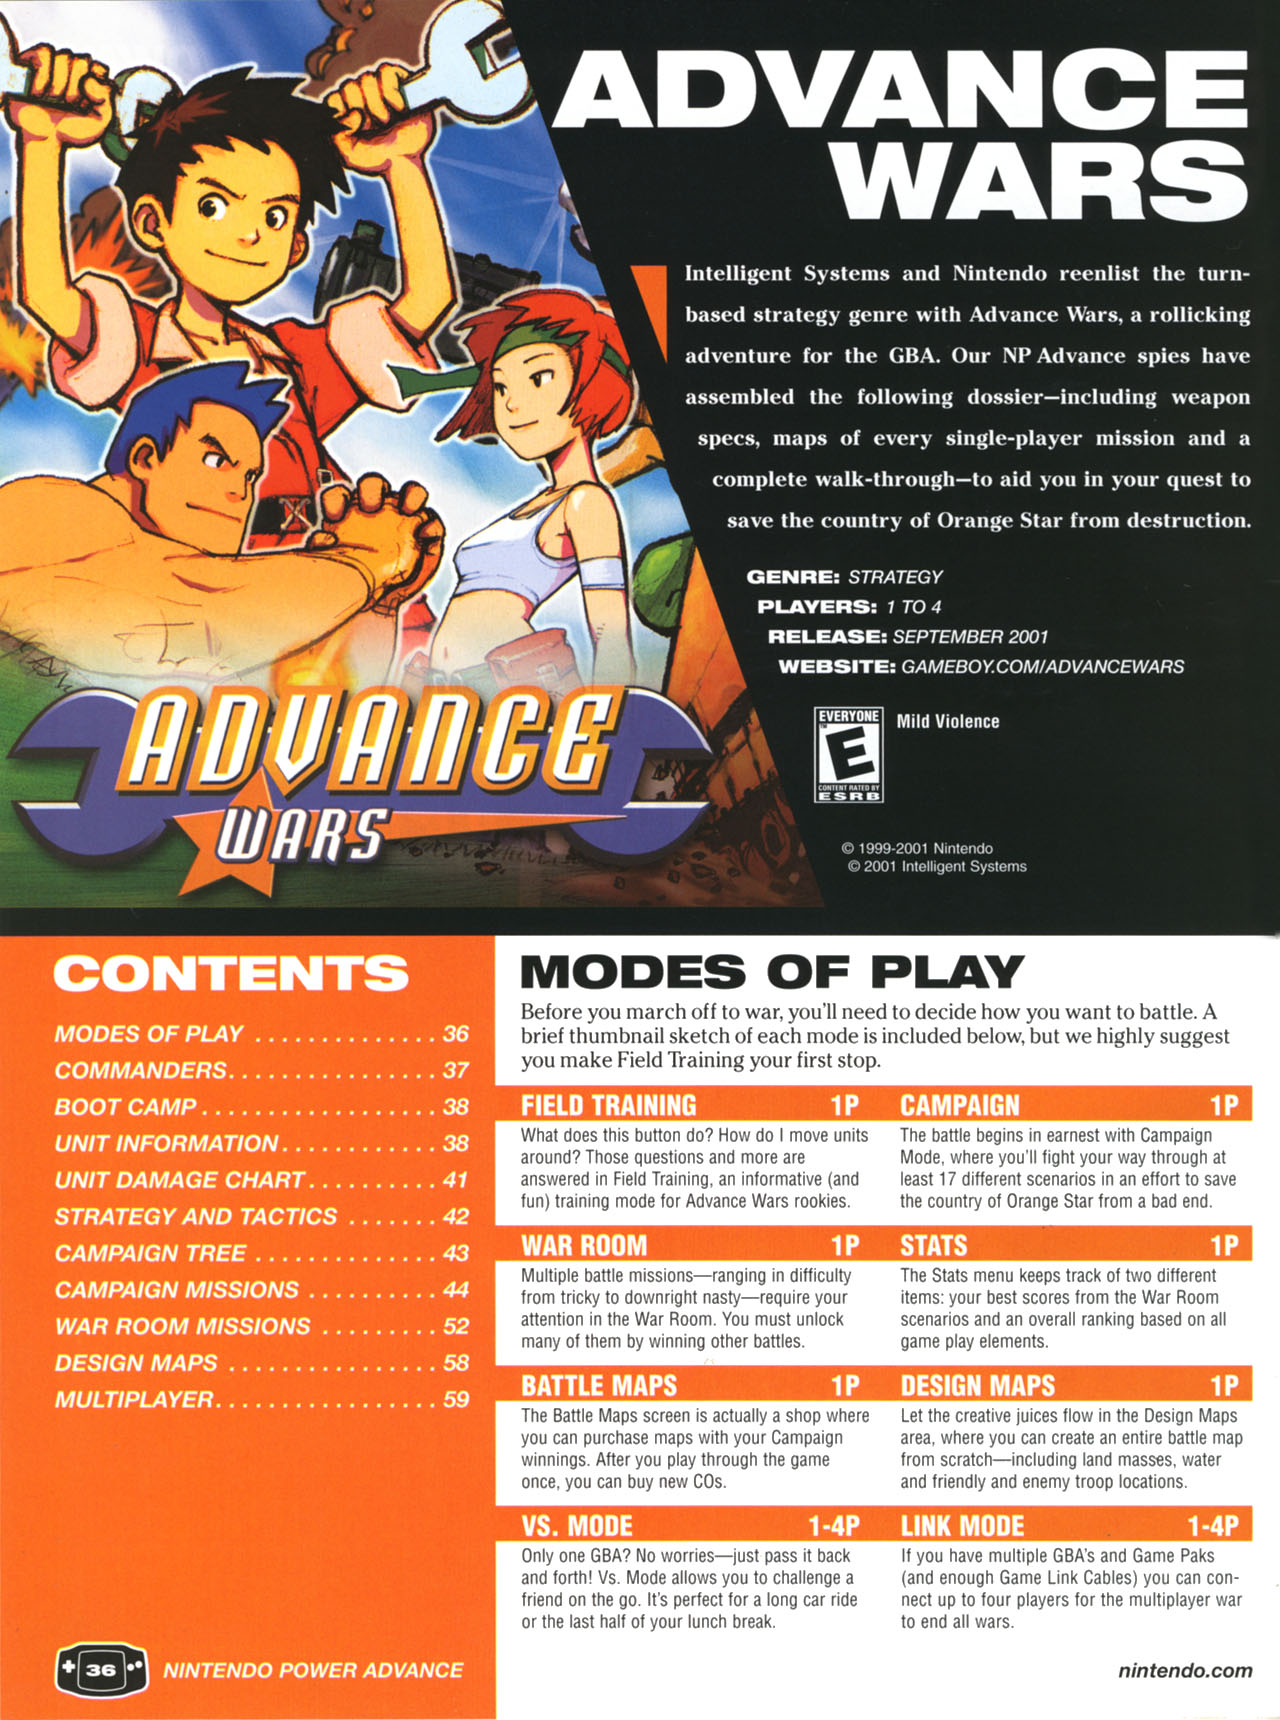
Advance Wars
Infantry
| Cost – 1000 | |||||||
 |
 |
 |
 |
||||
 |
 |
 |
 |
||||
| Infantry units have the lowest deployment cost. They can capture bases but have low firepower. Continue reading | |||||||
Kanbei
| Army: | 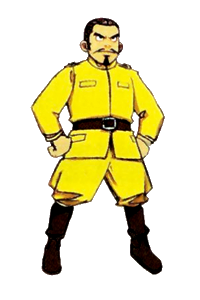 |
| The leader of Yellow Comet who has a soft spot for his daughter. His superior units are full of fighting spirit, yet they come at a cost. | |
| “Who shall taste my wrath?” |
Lander
| Cost – 12000 | |||||||
 |
 |
 |
 |
||||
 |
 |
 |
 |
||||
| Landers can transport two ground units. If the lander sinks, the units vanish. Continue reading | |||||||
Maps
Max
| Army: | 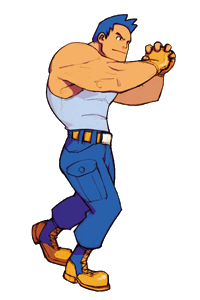 |
| An enthusiastic strongman who is loyal and earnest. He’s unmatched when it comes to direct combat but weak over distances. | |
| “Roll, tanks, roll!” |
Md. Tank
| Cost – 16000 | |||||||
 |
 |
 |
 |
||||
 |
 |
 |
 |
||||
| Md (medium) tank units’ defensive and offensive ratings are the highest of the ground units. Continue reading | |||||||
Mech
| Cost – 3000 | |||||||
 |
 |
 |
 |
||||
 |
 |
 |
 |
||||
| Mech units can capture bases, traverse most terrain types, and have superior firepower. Continue reading | |||||||
Missiles
| Cost – 12000 | |||||||
 |
 |
 |
 |
||||
 |
 |
 |
 |
||||
| Missile units are essential in defending against air units. Their vision range is large. Continue reading | |||||||
Nell
| Army: |  |
| A well-balanced CO with no weak points. They say she was born under a lucky star. | |
| “Lucky me!” |
Nintendo Power Strategy Guide
The Nintendo Power strategy guide for AW1 has been scanned and uploaded here for viewing.
Olaf
| Army: |  |
| A braggart whose tactical prowess has earned him respect. Easily affected by the climate, he’s strong in snow and weak in rain. | |
| “Let the winds of war bring snow!” |
Recon
| Cost – 4000 | |||||||
 |
 |
 |
 |
||||
 |
 |
 |
 |
||||
| Recon units have high movement range and are strong against infantry units. Continue reading | |||||||
Rockets
| Cost – 15000 | |||||||
 |
 |
 |
 |
||||
 |
 |
 |
 |
||||
| Rocket units are valuable because they can fire on both land and naval units. Continue reading | |||||||
Sami
| Army: |  |
| An infantry-unit specialist that has trouble with other ground units. She’s a proud graduate of special-forces training. | |
| “Ready or not, here I come!” |
Sonja
| Army: |  |
| Kanbei’s daughter who values intel over all else. She operates best in Fog of War and is cool and collected. | |
| “I see right through your plans!” |
Sturm
| Army: |  |
| The apparent commander in chief of the Black Hole Army, Sturm is a riddle within a shadow, revealing nothing. | |
| “?????” |
Submarine
| Cost – 20000 | |||||||
 |
 |
 |
 |
||||
 |
 |
 |
 |
||||
| Submerged subs are difficult to find, and only cruisers and subs can fire on them. Continue reading | |||||||
T-Copter
| Cost – 5000 | |||||||
 |
 |
 |
 |
||||
 |
 |
 |
 |
||||
| T (Transport) copter units have good movement range and can carry foot soldiers. Continue reading | |||||||
Tank
| Cost – 7000 | |||||||
 |
 |
 |
 |
||||
 |
 |
 |
 |
||||
| Tank units have high movement ranges and are inexpensive, so they’re easy to deploy. Continue reading | |||||||
Unlockables and Secrets
Unlocking COs
Spoilers
Nell: Complete the Advance Campaign
Grit: Choose Max for “Max Strikes!” and Max for “Blizzard Battle” to play “History Lesson” and complete the Campaign
Kanbei: Complete the Campaign
Sonja: Clear “Kanbei Arrives” within 8 days, “Mighty Kanbei” within 10 days and “Kanbei’s Error?” within 12 days to play “Divide and Conquer”, “Sonja’s Goal” and “Sami Marches On” and complete the Campaign
Eagle: Choose Sami for “Captain Drake”, “Naval Clash”, “Battle Mystery” and “Wings of Victory” to play “Rivals!” and clear the Campaign
Drake: Choose Andy for “Captain Drake”, “Naval Clash”, “Battle Mystery” and “Wings of Victory” and clear the Campaign
Sturm: Complete the Campaign and purchase all other COs except for Nell
Game Modes
Spoilers
Advance Campaign: Complete the Campaign
Campaign Secrets
Spoilers
Dogfights: Clear this map in 2 days to get special dialogue
Special Intel: Clear the Field Training mission Fog of War and return to the mode to play this map
Olaf’s Navy: Win the map by rout (instead of HQ capture) to play “Olaf’s Sea Strike”
Blizzard Battle: Play the map with Max to play “History Lesson”
Kanbei Arrives, Mighty Kanbei and Kanbei’s Error: Clear these maps within 8, 10 and 12 days to play “Divide and Conquer”, “Sonja’s Goal” and “Sami Marches On”
Captain Drake, Naval Clash, Battle Mystery and Wings of Victory: Play all four of these maps with Sami to play “Rivals”
The Final Battle: Your allied COs depend on what path you took throughout the campaign.
| CO | Army | Criteria |
|---|---|---|
| Olaf | Blue Moon | Clear "Olaf's Sea Strike" |
| Grit | Blue Moon | Clear "History Lesson" |
| Max | Blue Moon | Default commander for Blue Moon |
| Eagle | Green Earth | Clear "Captain Drake", "Naval Clash", "Battle Mystery" and "Wings of Victory" with Sami |
| Kanbei | Yellow Comet | Clear "Divide and Conquer", "Sonja's Goal" and "Sami Marches On", don't unlock Eagle |
| Drake | Green Earth | Clear "Captain Drake", "Naval Clash", "Battle Mystery" and "Wings of Victory" with Andy, don't unlock Kanbei |
| Sami | Green Earth | Default commander for Green Earth |
Maps
Spoilers
“Nintendo” Map: Hold L+R when starting Design Maps to load a special map.
Secret Dialogue: When in Design Maps, attempt to place a unit in an illegal position 50 times in a row. You will get some special dialogue from Nell.
Golden Menus
Spoilers
Field Training: Clear every map in Field Training with A-rank
Campaign: Clear the Advance Campaign
War Room: Clear every single map in the War Room
Battle Maps: Purchase every single item from Hachi
Rank: Achieve Rank 1: “Gold Dragon”
Records: Achieve an S-Rank on every single War Room map
Stats: Meet the requirements for a golden menu for both “Rank” and “Records”
War Room
- WR1-00: Overview
- WR1-01: Spann Island
- WR1-02: Moji Island
- WR1-03: Duo Falls
- WR1-04: Sole Harbor
- WR1-05: Pivot Isle
- WR1-06: Land’s End
- WR1-07: Kita Straight
- WR1-08: Point Stormy
- WR1-09: Ridge Island
- WR1-10: Mial’s Hope
- WR1-11: Bounty River
- WR1-12: Toil Ferry
- WR1-13: Twin Isle
- WR1-14: Dire Range
- WR1-15: Egg Islands
- WR1-16: Terra Maw
- WR1-17: Stamp Islands
- WR1-18: Rivers Four
- WR1-19: Ring Islands
- WR1-20: Last Mission
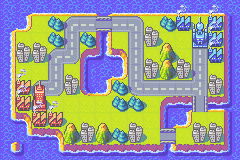
WR1-00: Overview
Welcome to the War Room!
To many first-time players, when the War Room first unlocks, it’s not clear exactly what it is. But there isn’t really a whole lot to it; it’s just a series of extra maps that you can play on for score and to earn coins for Battle Maps. There’s no plot to it and completing War Room maps won’t unlock anything. Completing all 20 maps, regardless of rank, will turn the Records entry under the Stats menu gold; S-Ranking all 20 maps will turn the War Room entry on the menu gold. Those are the only rewards you’ll get, aside from the coins and whatever sense of accomplishment it gives you.
If you’re up for the challenge, then read on.
Guide Goals
Our goals for this guide are to explain to you how to get a perfect score of 999 on all maps with any available CO. This is actually possible, though very difficult in some cases. In general, this will take the form of day-to-day guides for a quick HQ capture, but some maps are too complex for that.
Continue reading
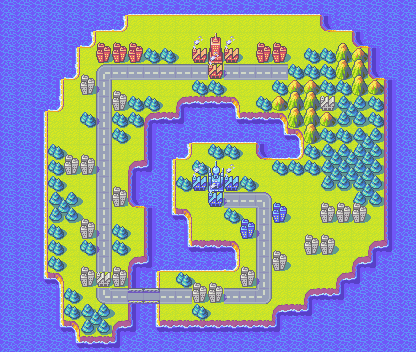
WR1-01: Spann Island
Spann Island Guide
Recommended CO: Anybody but Kanbei
Opponent: Olaf
Perfect Speed: 10 days
Points: 999pt S-rank
Days: 8+
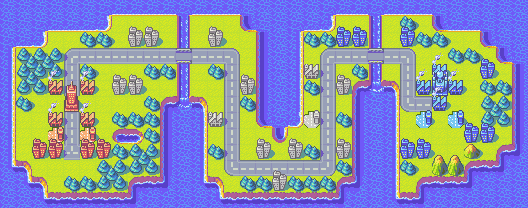
WR1-02: Moji Island
Moji Island Guide
Recommended CO: Anybody
Opponent: Grit
Perfect Speed: 14 days
Points: 999pt S-rank
Days: 10
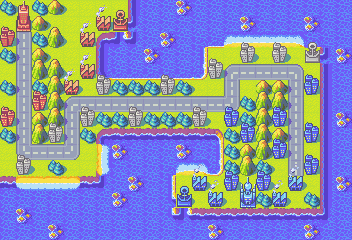
WR1-03: Duo Falls
Duo Falls Guide
Recommended CO: Anyone
Opponent: Kanbei
Perfect Speed: 13 days
Points: 999-pt S-rank
Days: 11
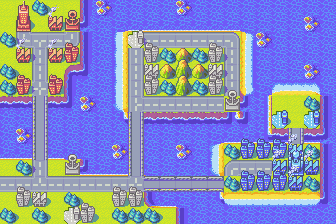
WR1-04: Sole Harbor
Sole Harbor Guide
Recommended CO: N/A
Opponent: Drake
Speed Requirement: 18 days
Points: N/A
Days: N/A
Continue readingWR1-05: Pivot Isle
Pivot Isle Guide
Recommended CO: Anybody but Kanbei
Opponent: Eagle
Speed Requirement: 15 days
Points: 999pt S-rank
Days: 8
Continue reading
WR1-06: Land’s End
Land’s End guide
Recommended CO: N/A
Opponent: Olaf
Speed Requirement: 12 days
Points: N/A
Days: N/A
Continue readingWR1-07: Kita Straight
Kita Straight guide
Recommended CO: N/A
Opponent: Drake
Speed Requirement: 25 days
Points: N/A
Days: N/A
Continue readingWR1-08: Point Stormy
Point Stormy guide
Recommended CO: N/A
Opponent: Olaf
Speed Requirement: 15 days
Points: N/A
Days: N/A
Continue readingWR1-09: Ridge Island
Ridge Island Guide

Recommended CO: Anybody but Kanbei
Opponent: Grit
Speed Requirement: 9 days
Points: 999pt S-rank
Days: 8
WR1-10: Mial’s Hope
Mial’s Hope Guide

Recommended CO: Anybody
Opponent: Eagle
Speed Requirement: 14 days
Points: 999pt S-rank
Days: 9-11
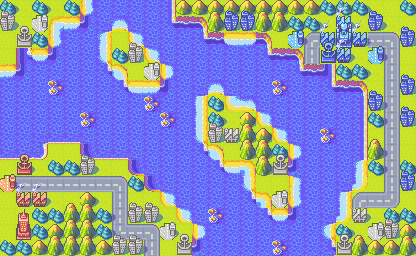
WR1-11: Bounty River
Bounty River guide
Recommended CO: N/A
Opponent: Sonja
Speed Requirement: 22 days
Points: N/A
Days: N/A
Continue readingWR1-12: Toil Ferry
Toil Ferry guide
Recommended CO: N/A
Opponent: Grit
Speed Requirement: 17 days
Points: N/A
Days: N/A
Continue readingWR1-13: Twin Isle
Twin Isle Guide
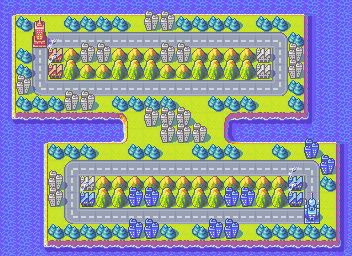
Recommended CO: Anybody
Opponent: Kanbei
Speed Requirement: 20 days
Points: 999pt S-rank
Days: 11-12
WR1-14: Dire Range
Dire Range guide
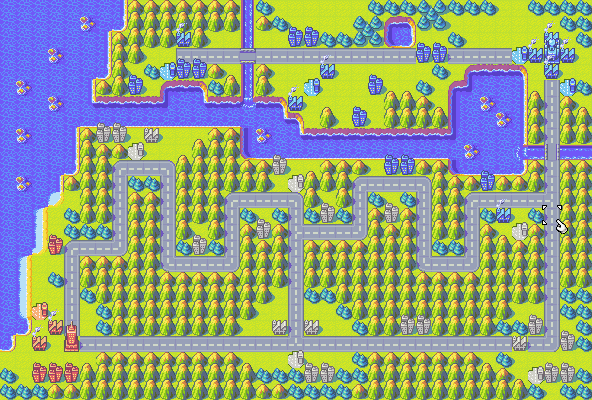
Recommended CO: N/A
Opponent: Eagle
Speed Requirement: 13 days
Points: N/A
Days: N/A
Continue readingWR1-15: Egg Islands
Egg Islands guide
Recommended CO: N/A
Opponent: Drake
Speed Requirement: 22 days
Points: N/A
Days: N/A
Continue readingWR1-16: Terra Maw
Terra Maw guide
Recommended CO: N/A
Opponent: Sonja
Speed Requirement: 19 days
Points: N/A
Days: N/A
Continue readingWR1-17: Stamp Islands
Stamp Islands Guide
Recommended CO: Anyone
Opponents: Olaf, Kanbei
Speed Requirement: 13 days
Points: 999pt S-rank
Days: 10-13
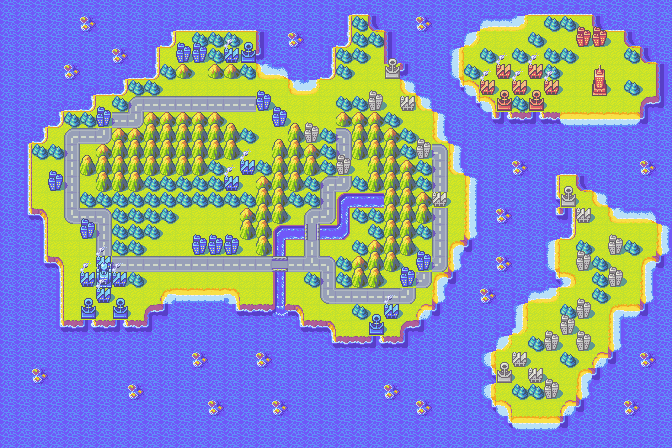
WR1-18: Rivers Four
Rivers Four guide
Recommended CO: N/A
Opponent: Grit, Max
Speed Requirement: 20 days
Points: N/A
Days: N/A
Continue readingWR1-19: Ring Islands
Ring Islands guide
Recommended CO: N/A
Opponent: Drake, Sonja
Speed Requirement: 26 days
Points: N/A
Days: N/A
Continue readingWR1-20: Last Mission
Last Mission Guide
Recommended CO: Anybody
Opponents: Sami, Eagle
Speed Requirement: 30 days
Points: 999pt S-rank
Days: 13+