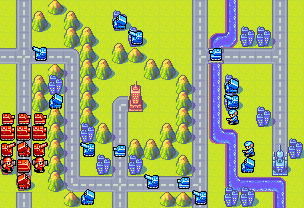
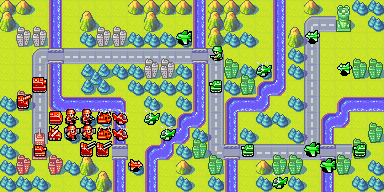
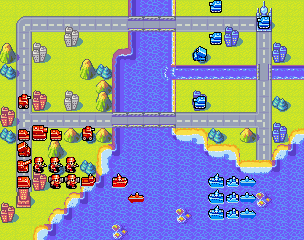
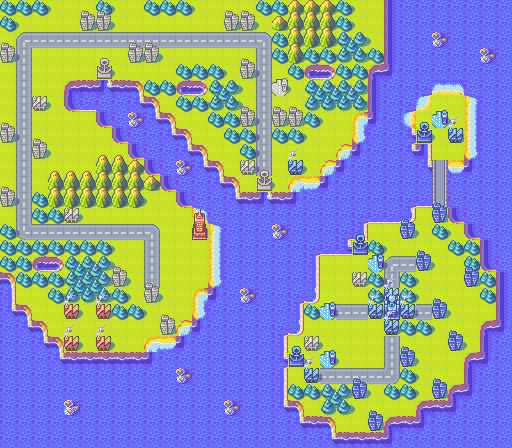
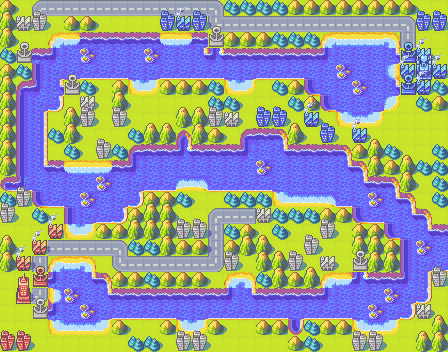
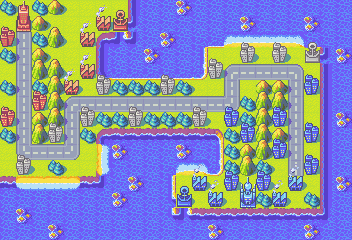
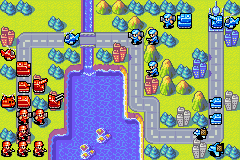
Mission 12 – Divide & Conquer!
CO Choice: Max
 | Hey! Where is everybody? |
.png) |
 |
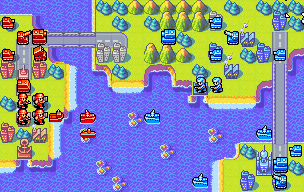
Mission 12 – Divide & Conquer!
CO Choice: Max
| Hey! Where is everybody? |
|
|
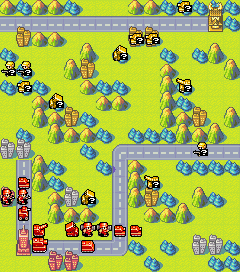
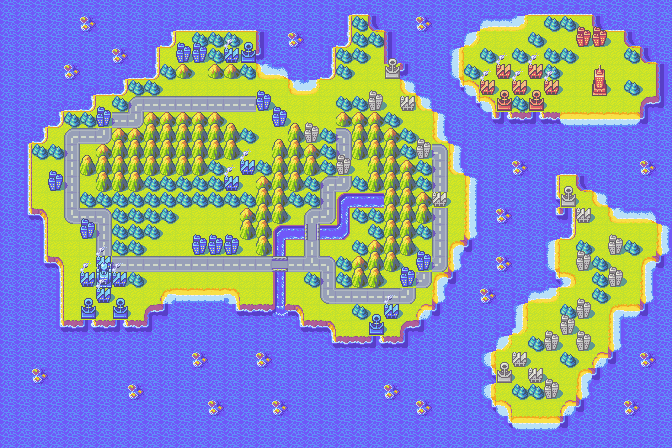
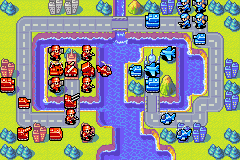
Mission 11 – Kanbei’s Error?
CO Choice:
 | My units haven’t lost yet! |
| The front line is where I’ll win this battle! |
 | This map call for some strategic maneuvering. |
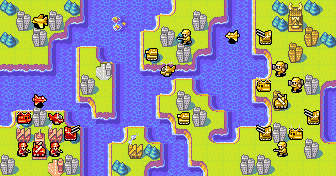
Mission 9 – Kanbei Arrives
CO Choice:
| I don’t know what’s going on, but I’ll do my best. |
| Darn! I hadn’t planned on crossing into Yellow Comet… Well, here goes |
| If we could just negotiate… I think it’s too late for that, though. |
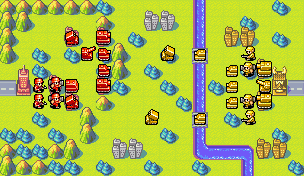
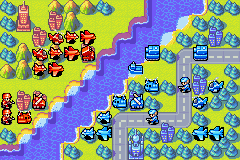
Mission 8 – Sami’s Debut!
CO Choice:
| Those troops… could it be? |
| It’s that guy again! |
| This terrain is made for me! |
.png) |
 |
Mission 7 – History Lesson
CO Choice: Max
| Let me take care of Grit! |
.png) |
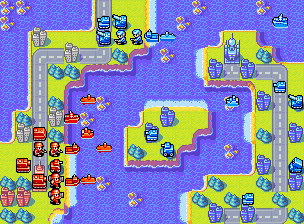 |
Mission 7 – Olaf’s Sea Strike!
CO Choice:
| Is it my turn? |
| Olaf’s got another think coming if he thinks he can beat me! |
.png) |
 |
Mission 6 – Blizzard Battle!
CO Choice:
| Doesn’t Olaf get cold when he makes it snow? |
| Let’s take it to ’em! |
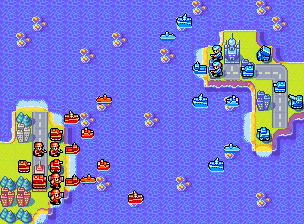
Mission 6 – Olaf’s Navy
CO Choice:
| I’ll go! |
| I’ll take care of this! |
.png) |
 |
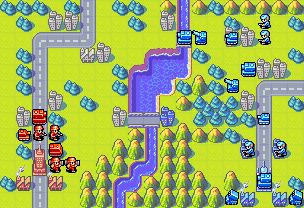
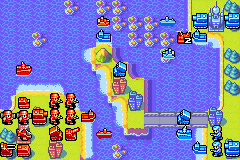
Mission 4 – Max Strikes!
CO Choice: Andy
| I want to check this place out! |
Note: This map is different if you choose Max as your CO.
Please refer to C04M – Max Strikes! guide instead.
Ring Islands guide
Recommended CO: N/A
Opponent: Drake, Sonja
Speed Requirement: 26 days
Points: N/A
Days: N/A
Continue readingRivers Four guide
Recommended CO: N/A
Opponent: Grit, Max
Speed Requirement: 20 days
Points: N/A
Days: N/A
Continue readingTerra Maw guide
Recommended CO: N/A
Opponent: Sonja
Speed Requirement: 19 days
Points: N/A
Days: N/A
Continue readingEgg Islands guide
Recommended CO: N/A
Opponent: Drake
Speed Requirement: 22 days
Points: N/A
Days: N/A
Continue readingDire Range guide
Recommended CO: N/A
Opponent: Eagle
Speed Requirement: 13 days
Points: N/A
Days: N/A
Continue readingToil Ferry guide
Recommended CO: N/A
Opponent: Grit
Speed Requirement: 17 days
Points: N/A
Days: N/A
Continue readingBounty River guide
Recommended CO: N/A
Opponent: Sonja
Speed Requirement: 22 days
Points: N/A
Days: N/A
Continue readingPoint Stormy guide
Recommended CO: N/A
Opponent: Olaf
Speed Requirement: 15 days
Points: N/A
Days: N/A
Continue readingKita Straight guide
Recommended CO: N/A
Opponent: Drake
Speed Requirement: 25 days
Points: N/A
Days: N/A
Continue readingLand’s End guide
Recommended CO: N/A
Opponent: Olaf
Speed Requirement: 12 days
Points: N/A
Days: N/A
Continue readingSole Harbor Guide
Recommended CO: N/A
Opponent: Drake
Speed Requirement: 18 days
Points: N/A
Days: N/A
Continue readingMission 14 – Special Intel
What a surprise! Are you here for my Special Intel briefing?
 | Briefing: This lesson is for commanders who want a little extra knowledge. This is special intel that may just give you the edge in combat. Let’s get started! |
.png) | .png) |
Mission 13 – Fog of War
Fog of War is the topic of this briefing.
| Briefing: Finally, we’ve arrived. |
.png) | .png) |
Mission 12 – Climate Status
This mission focuses on climate and CO Powers.
| Briefing: Before we move out, I need to brief you in detail on CO Olaf. Olaf used to be a CO in the Orange Star Army. In fact, he was my superior. His strong character and skill with the troops make him an invaluable CO. This is what brought him to Blue Moon’s attention. Not only did he switch allegiances, but then he attacked Orange Star… He’s a complete wretch! Just a little more, and the Blue Moon Army will be forced to retreat! Let’s go get ’em! |

Mission 11 – Naval Forces
Naval units are the topic of this briefing.
| Briefing: You’ve got a tough mission on your hands this time. There are two units that require aid or they’ll be destroyed. One of these is a T copter, which we’ve discussed before. The other is a lander unit. This is a naval unit you haven’t seen yet. You need to protect these units and secure the land on the far shore. This is the mission that’s been entrusted to you, Advisor. Unfortunately, I was unable to get any bombers or fighters this time. But I did arrange for other units I think will be necessary to our success. I’ll explain about these other naval units once we arrive. Time to get moving! |
Mission 10 – Dogfights
I wonder how fast you can clear this air and indirect combat unit section?
| Briefing: Hey! More good news! We’ve finally got bombers and fighters ready to go! Three units each! You’ve only got them for this mission, but… It seems Olaf’s troops have appeared on the far shore. Your job is to get over there and take them out in one fell swoop! Let’s get moving! |
Mission 9 – Air Defense
Rockets and missiles are included in this briefing on indirect combat units.
| Briefing: My superiors have really been dropping the ball lately. The enemy already has fighters and bombers, but it appears that we don’t. But, I did arrange to have some experimental missiles assigned to you. And I also got you some rockets. With all you’ve done, Advisor, it’s the least they could do! It seems that the enemy always has superior units deployed. I apologize. Anyway, it’s time to move out! |
Mission 8 – Air Assault
This mission deals with air units, fuel consumption and anti-air defenses.
| Briefing: Good news! Orange Star’s Md Tank development team has succeeded! Plus, you’ve also been given some new and improved anti-airs! Now, let’s discuss the current operation, Advisor. An entire company has disappeared on its way to the front lines. It was made up mostly of Md tanks and tanks, so this is serious. It may mean that they ran into an air squadron complete with bom… No, that’s not possi… Forget it. It’s nothing. I’m sure I’m just reading too much into the situation. Well, time to get moving! |
The Nintendo Power strategy guide for AW1 has been scanned and uploaded here for viewing.
Unlocking COs
Spoilers
Game Modes
Spoilers
Campaign Secrets
Spoilers
Maps
Spoilers
Golden Menus
Spoilers
Release Dates:
Digital Re-release Dates:
Wii U: Virtual Console
Other Information:
Same as in the regular Campaign, there are different paths you can take. For specifics, check the “Branching Paths, Extra Missions, and Unlocking COs” section on the overview page.
As a first release, Advance Wars was a very polished game. However, it has a handful of glitches, one of which is infamous and rather disastrous. Continue reading
Welcome to the War Room!
To many first-time players, when the War Room first unlocks, it’s not clear exactly what it is. But there isn’t really a whole lot to it; it’s just a series of extra maps that you can play on for score and to earn coins for Battle Maps. There’s no plot to it and completing War Room maps won’t unlock anything. Completing all 20 maps, regardless of rank, will turn the Records entry under the Stats menu gold; S-Ranking all 20 maps will turn the War Room entry on the menu gold. Those are the only rewards you’ll get, aside from the coins and whatever sense of accomplishment it gives you.
If you’re up for the challenge, then read on.
Guide Goals
Our goals for this guide are to explain to you how to get a perfect score of 999 on all maps with any available CO. This is actually possible, though very difficult in some cases. In general, this will take the form of day-to-day guides for a quick HQ capture, but some maps are too complex for that.
Continue reading
Campaign is the main mode in the Nintendo Wars series from Advance Wars on. This is essentially the story mode, you go through the missions presented to you in order, and the COs available to you are determined by the plot.
Guide Goals
Our goals for this guide are to explain to you how to get a perfect score of 999 on all missions with any available CO. Because AW1’s AI is highly predictable and most Campaign missions require quick clears for full Speed points, these will be detailed day-to-day guides for most of the missions.
Continue reading
There are different paths you can take in the Campaign mode, some require specific CO for one or more maps, while others might require certain actions. For specifics, check the “Branching Paths, Extra Missions, and Unlocking COs” section on the overview page.
| Cost – 28000 | |||||||
 |
 |
 |
 |
||||
 |
 |
 |
 |
||||
| B (Battle) ships have a larger attack range than even rocket units. Continue reading | |||||||
| Cost – 20000 | |||||||
 |
 |
 |
 |
||||
 |
 |
 |
 |
||||
| Submerged subs are difficult to find, and only cruisers and subs can fire on them. Continue reading | |||||||
| Cost – 18000 | |||||||
 |
 |
 |
 |
||||
 |
 |
 |
 |
||||
| Cruisers are strong against subs and air units, and they can carry two copter units. Continue reading | |||||||
| Cost – 12000 | |||||||
 |
 |
 |
 |
||||
 |
 |
 |
 |
||||
| Landers can transport two ground units. If the lander sinks, the units vanish. Continue reading | |||||||
| Cost – 22000 | |||||||
 |
 |
 |
 |
||||
 |
 |
 |
 |
||||
| Bomber units can fire on ground and naval units. Their movement range is high. Continue reading | |||||||
| Cost – 20000 | |||||||
 |
 |
 |
 |
||||
 |
 |
 |
 |
||||
| Fighter units can engage other air units. Their movement range is the highest of all units. Continue reading | |||||||
| Cost – 9000 | |||||||
 |
 |
 |
 |
||||
 |
 |
 |
 |
||||
| B (Battle) copter units can fire on many unit types, so they’re invaluable. Continue reading | |||||||
| Cost – 5000 | |||||||
 |
 |
 |
 |
||||
 |
 |
 |
 |
||||
| T (Transport) copter units have good movement range and can carry foot soldiers. Continue reading | |||||||