| Cost – 16000 | |||||||
 |
 |
 |
 |
||||
 |
 |
 |
 |
||||
| Md (medium) tank units’ defensive and offensive ratings are the highest of the ground units. Continue reading | |||||||
AW1
Rockets
| Cost – 15000 | |||||||
 |
 |
 |
 |
||||
 |
 |
 |
 |
||||
| Rocket units are valuable because they can fire on both land and naval units. Continue reading | |||||||
Missiles
| Cost – 12000 | |||||||
 |
 |
 |
 |
||||
 |
 |
 |
 |
||||
| Missile units are essential in defending against air units. Their vision range is large. Continue reading | |||||||
Anti-Air
| Cost – 8000 | |||||||
 |
 |
 |
 |
||||
 |
 |
 |
 |
||||
| A-air units work well against foot soldiers and air units. They’re weak against tanks. Continue reading | |||||||
Tank
| Cost – 7000 | |||||||
 |
 |
 |
 |
||||
 |
 |
 |
 |
||||
| Tank units have high movement ranges and are inexpensive, so they’re easy to deploy. Continue reading | |||||||
Artillery
| Cost – 6000 | |||||||
 |
 |
 |
 |
||||
 |
 |
 |
 |
||||
| Artillery units are an inexpensive way to gain indirect offensive attack capabilities. Continue reading | |||||||
APC
| Cost – 5000 | |||||||
 |
 |
 |
 |
||||
 |
 |
 |
 |
||||
| APC units transport foot soldiers, ammo, gas, and rations. Continue reading | |||||||
Recon
| Cost – 4000 | |||||||
 |
 |
 |
 |
||||
 |
 |
 |
 |
||||
| Recon units have high movement range and are strong against infantry units. Continue reading | |||||||
Mech
| Cost – 3000 | |||||||
 |
 |
 |
 |
||||
 |
 |
 |
 |
||||
| Mech units can capture bases, traverse most terrain types, and have superior firepower. Continue reading | |||||||
Infantry
| Cost – 1000 | |||||||
 |
 |
 |
 |
||||
 |
 |
 |
 |
||||
| Infantry units have the lowest deployment cost. They can capture bases but have low firepower. Continue reading | |||||||
Battle Mechanics
2. Damage Formula during Counter-Attacks
3. CO Power Bar
4. Data section
WR1-20: Last Mission
Last Mission Guide
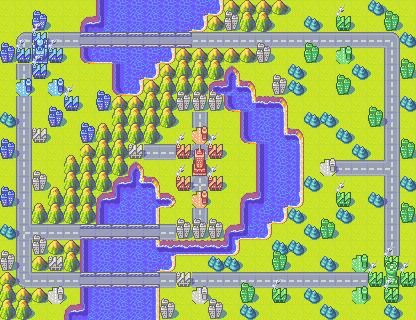
Recommended CO: Anybody
Opponents: Sami, Eagle
Speed Requirement: 30 days
Points: 999pt S-rank
Days: 13+
WR1-17: Stamp Islands
Stamp Islands Guide
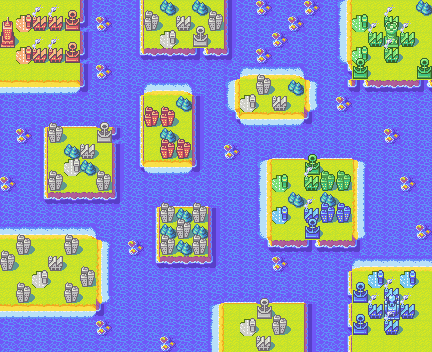
Recommended CO: Anyone
Opponents: Olaf, Kanbei
Speed Requirement: 13 days
Points: 999pt S-rank
Days: 10-13
WR1-13: Twin Isle
Twin Isle Guide
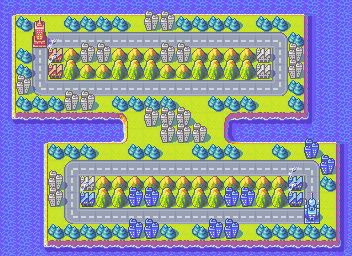
Recommended CO: Anybody
Opponent: Kanbei
Speed Requirement: 20 days
Points: 999pt S-rank
Days: 11-12
WR1-10: Mial’s Hope
Mial’s Hope Guide
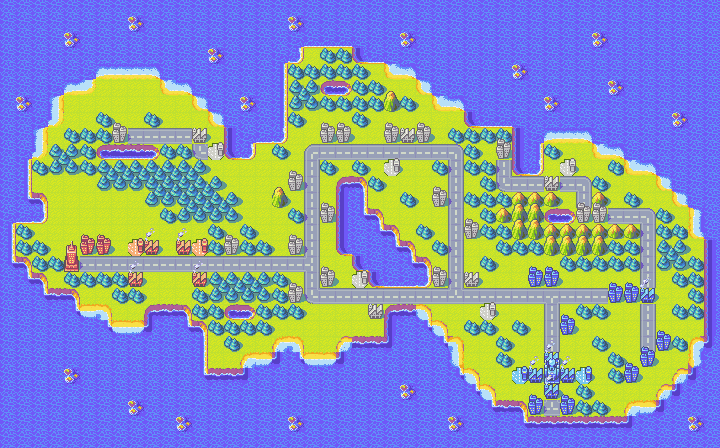
Recommended CO: Anybody
Opponent: Eagle
Speed Requirement: 14 days
Points: 999pt S-rank
Days: 9-11
WR1-09: Ridge Island
Ridge Island Guide
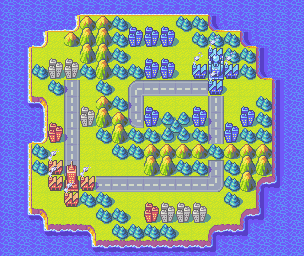
Recommended CO: Anybody but Kanbei
Opponent: Grit
Speed Requirement: 9 days
Points: 999pt S-rank
Days: 8
WR1-05: Pivot Isle
Pivot Isle Guide
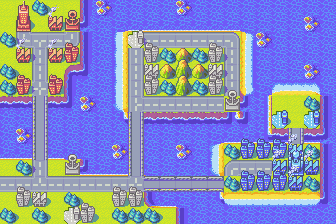
Recommended CO: Anybody but Kanbei
Opponent: Eagle
Speed Requirement: 15 days
Points: 999pt S-rank
Days: 8
Continue reading
WR1-03: Duo Falls
Duo Falls Guide
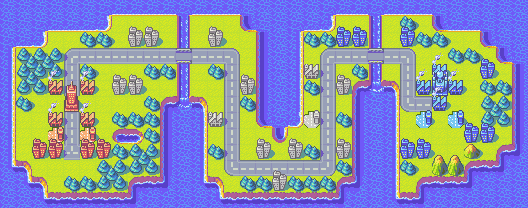
Recommended CO: Anyone
Opponent: Kanbei
Perfect Speed: 13 days
Points: 999-pt S-rank
Days: 11
WR1-02: Moji Island
Moji Island Guide
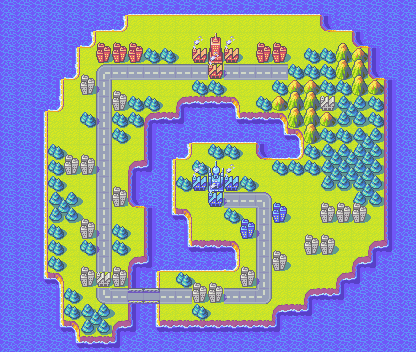
Recommended CO: Anybody
Opponent: Grit
Perfect Speed: 14 days
Points: 999pt S-rank
Days: 10
WR1-01: Spann Island
Spann Island Guide
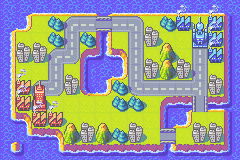
Recommended CO: Anybody but Kanbei
Opponent: Olaf
Perfect Speed: 10 days
Points: 999pt S-rank
Days: 8+
C10 – Mighty Kanbei!
CO Choice: Max
 |
Kanbei’s army is so cool! |
 |
That Kanbei is one tough cookie! |
 |
We can’t get careless |
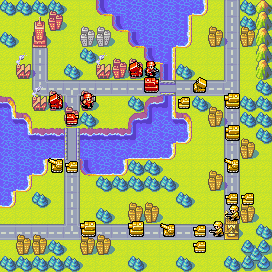
C05M – Sniper!
 |
I can handle this! |
 |
This’ll be as easy as falling out of bed! |
.png) |
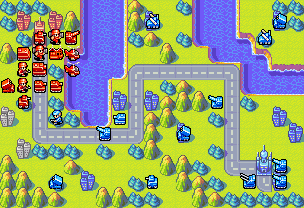 |
Continue reading
C04M – Max Strikes!
 |
This route looks tough! |
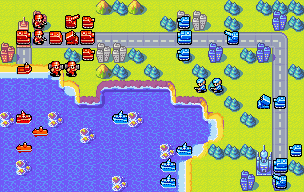
Please refer to C04A – Max Strikes! guide instead.
Damage Table
Advance Wars Damage Table
 (1) |  (2) |  (1) |  (2) |  (1) |  (2) |  (1) |  (2) |  (1) |  (2) |  (1) |  (2) |  (1) |  (2) |  (1) |  (2) |  (1) |  (2) |  (1) |  (2) |  (1) |  (2) |  (1) |  (2) |  (1) |  (2) |  (1) |  (2) |  (1) |  (1) |  (1) |  (1) | |||
|---|---|---|---|---|---|---|---|---|---|---|---|---|---|---|---|---|---|---|---|---|---|---|---|---|---|---|---|---|---|---|---|---|---|---|
 | - | 55 | - | 45 | - | 12 | - | 5 | - | 1 | - | 14 | - | 15 | - | 25 |  | - | 5 | - | 25 | - | - | - | - | - | 7 | - | 30 | - | - | - | - |  |
 | - | 65 | - | 55 | 85 | 18 | 55 | 6 | 15 | 1 | 75 | 20 | 70 | 32 | 85 | 35 |  | 65 | 6 | 85 | 35 | - | - | - | - | - | 9 | - | 35 | - | - | - | - |  |
 | - | 70 | - | 65 | - | 35 | - | 6 | - | 1 | - | 45 | - | 45 | - | 55 | - | - | 4 | - | 28 | - | - | - | - | - | 10 | - | 35 | - | - | - | - |  |
 | 25 | 75 | 25 | 70 | 85 | 40 | 55 | 6 | 15 | 1 | 75 | 45 | 70 | 45 | 85 | 55 |  | 65 | 5 | 85 | 30 | - | - | - | - | - | 10 | - | 40 | 1 | 5 | 10 | 1 |  |
 | 30 | 105 | 30 | 95 | 105 | 45 | 85 | 8 | 55 | 1 | 105 | 45 | 105 | 45 | 105 | 55 |  | 105 | 7 | 105 | 35 | - | - | - | - | - | 12 | - | 45 | 10 | 55 | 35 | 10 |  |
 | 90 | - | 85 | - | 80 | - | 70 | - | 45 | - | 70 | - | 75 | - | 80 | - |  | 75 | - | 80 | - | - | - | - | - | - | - | - | - | 40 | 65 | 55 | 60 |  |
 | 95 | - | 90 | - | 90 | - | 80 | - | 55 | - | 80 | - | 80 | - | 85 | - |  | 85 | - | 90 | - | - | - | - | - | - | - | - | - | 55 | 85 | 60 | 85 |  |
 | 105 | - | 105 | - | 60 | - | 25 | - | 10 | - | 50 | - | 50 | - | 55 | - |  | 45 | - | 55 | - | 65 | - | 75 | - | 120 | - | 120 | - | - | - | - | - |  |
 | - | - | - | - | - | - | - | - | - | - | - | - | - | - | - | - |  | - | - | - | - | 100 | - | 100 | - | 120 | - | 120 | - | - | - | - | - |  |
 | - | - | - | - | - | - | - | - | - | - | - | - | - | - | - | - |  | - | - | - | - | 55 | - | 100 | - | 100 | - | 100 | - | - | - | - | - |  |
 | 110 | - | 110 | - | 105 | - | 105 | - | 95 | - | 105 | - | 105 | - | 105 | - |  | 95 | - | 105 | - | - | - | - | - | - | - | - | - | 75 | 85 | 95 | 95 |  |
 | - | 75 | - | 75 | 55 | 30 | 55 | 6 | 25 | 1 | 60 | 20 | 65 | 25 | 65 | 35 |  | 25 | 6 | 65 | 35 | - | - | - | - | - | 65 | - | 95 | 25 | 55 | 25 | 25 |  |
 | 95 | - | 90 | - | 90 | - | 80 | - | 55 | - | 80 | - | 80 | - | 85 | - |  | 85 | - | 90 | - | - | - | - | - | - | - | - | - | 50 | 95 | 95 | 95 |  |
 | - | - | - | - | - | - | - | - | - | - | - | - | - | - | - | - |  | - | - | - | - | - | 55 | - | 65 | - | 115 | - | 115 | - | - | - | 90 |  |
 | - | - | - | - | - | - | - | - | - | - | - | - | - | - | - | - |  | - | - | - | - | - | - | - | - | - | - | - | - | 55 | 25 | 95 | 55 |  |
The orange star troops are the attacker’s base damage. Blue Moon troops are the target of the attack. (1) represents a primary weapon that uses ammo, (2) represents the secondary machine guns that do not require ammo to fire. You can sort a target by damage taken by clicking the icon along the top row.
Field Training 07 – Copter Tactics
 |
Briefing: It appears that we have a problem. Orange Star has hit a snag in its Md Tank development program. On the other hand, Blue Moon seems to have more than enough tanks… I think it’s safe to assume they have mass production capabilities. I pulled some strings and had some B copters and T copters sent down from the frontlines, but that doesn’t give you all that much firepower. Nevertheless, let’s make good use of them. I’ll give you more details once we reach the staging area. Let’s move out! |
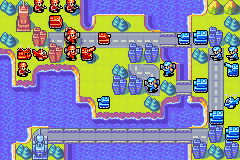
Field Training 06 – Tank Ops
This is a chance to show me what you’ve learned. Are you ready?
 |
Briefing: An entire company doing recon in the Coral Lagoon area has been lost. The Coral Fortress is surrounded by mountains, so it’s hard to imagine that there are many enemy units there. Still, an entire company it’s gone, so… The point is, we can’t afford to lose that territory. Time to get going! |

Field Training 05 – APC ABCs
This mission focuses on the Supply, Load, and Drop commands.
 |
Briefing: My superiors in Orange Star are pleased with your word, Advisor. I’m also happy to say the enemy troops aren’t deployed ahead of us. Look at this! An artillery unit has been assigned to your command! Used correctly, this unit will strengthen your battalion. No doubt about it. But, it sounds like it’s seen a lot of action on the front lines, and… Well, I guess we’ll get a look at it when we reach the battlefield. Oh, and I’ve received one more bit of information. You’ve also been given an APC unit to use. This one is fresh from the factory, so don’t worry about its condition. OK! Let’s get moving! |
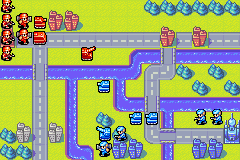
Field Training 04 – Unit Repair
This mission will explain the Join command and discuss basic strategy.
 |
Briefing: I think that creep Olaf… I mean CO Olaf is starting to take us seriously. But all of our commanders are caught up in other campaigns. So there’s no one available to lead the Orange Star Army against him. Advisor, it looks like it’s up to you to defend Orange Star. Let me brief you on the current mission. Our troops en route to the Lost Fortress have been waylaid by CO Olaf. It’s up to you to join up with them, beat back Olaf and secure the area. We need the Lost Fortress! Move out! |
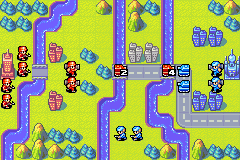
Field Training 03 – Base Capture
Capturing bases is the focus of this mission.
 |
Briefing: Our current mission is to storm the Spire Hills. If successful, we should be able to drive that pompous, old… I mean, we should be able to force the Blue Moon forces to withdraw. If you remember, we faced two mech units in the last battle, right? In response, you have been given command of two mech units yourself. |

Field Training 02 – Terrain Intel
 |
Briefing: Enemy forces have been spotted in the Alara Mountains. Their HQ is in another area, so we believe this is a covert attack. A covert attack… that sounds like something Olaf would try. Your goal is to take out these units. You’ve been given four Infantry units to carry out this operation. Let’s go! |

Field Training 01 – Troop Orders
Basic troop movement and attack controls are explained here.
 |
Briefing: First, let me brief you on the situation. We’re in this large nation here, Orange Star. The country to the east is Blue Moon. The two countries have been bitter rivals for years. Border skirmishes had died recently… until that madman Olaf… Oh, excuse me. I mean, uhm… The Blue Moon CO, Olaf, suddenly ordered an invasion of Orange Star. So, the Alara region is now held by Blue Moon forces. Candidate Advisor, you have been given a mission. You are to drive Olaf from Alara and secure the region for Orange Star. I will be your support. Let’s move out! |
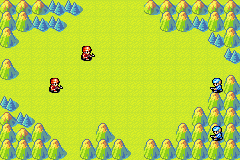
Sturm
| Army: | 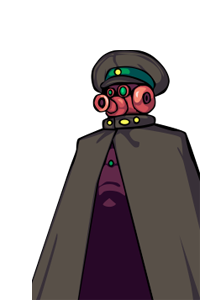 |
| The apparent commander in chief of the Black Hole Army, Sturm is a riddle within a shadow, revealing nothing. | |
| “?????” |
Drake
| Army: |  |
| A former pirate with a big heart. His naval units rule the seas, but he has trouble with air units. Rain seems to follow wherever he goes. | |
| “Panic is for landlubbers!” |
Eagle
| Army: |  |
| The king of the skies who joined the air force to honor his father’s legacy. His air units are matchless, but he has weak naval units. | |
| “The Eagle soars above you!” |
Sonja
| Army: |  |
| Kanbei’s daughter who values intel over all else. She operates best in Fog of War and is cool and collected. | |
| “I see right through your plans!” |
Kanbei
| Army: | 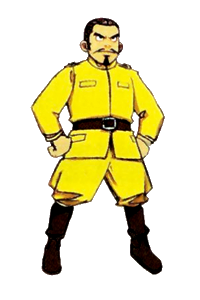 |
| The leader of Yellow Comet who has a soft spot for his daughter. His superior units are full of fighting spirit, yet they come at a cost. | |
| “Who shall taste my wrath?” |
Grit
| Army: | 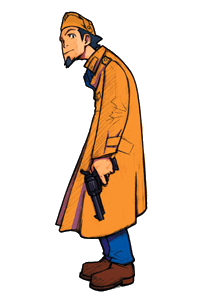 |
| A peerless marksman with ranged attacks, he tends to dislike direct combat. His laid-back style masks his dependability. | |
| “Reckon it’s time to take you down!” |
Sami
| Army: | 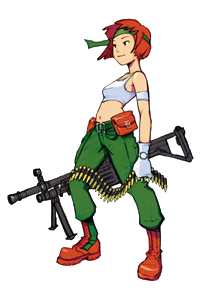 |
| An infantry-unit specialist that has trouble with other ground units. She’s a proud graduate of special-forces training. | |
| “Ready or not, here I come!” |
Max
| Army: | 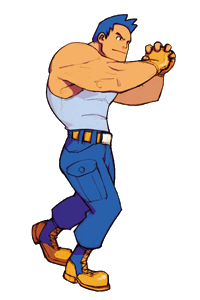 |
| An enthusiastic strongman who is loyal and earnest. He’s unmatched when it comes to direct combat but weak over distances. | |
| “Roll, tanks, roll!” |
Andy
| Army: | 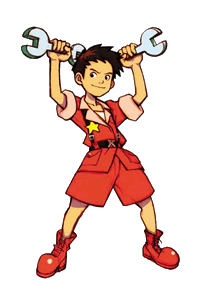 |
| A mechanical boy wonder with good all-around skills. Impulsive to a fault, he’s fiercely protective of those he calls friends. | |
| “Time for a tune up!” |
Nell
| Army: |  |
| A well-balanced CO with no weak points. They say she was born under a lucky star. | |
| “Lucky me!” |
Olaf
| Army: |  |
| A braggart whose tactical prowess has earned him respect. Easily affected by the climate, he’s strong in snow and weak in rain. | |
| “Let the winds of war bring snow!” |
